Prototyping to Production: Scaling Your Wire Harness Design in 2026
A comprehensive roadmap through the 6 critical stages from concept to mass production. Learn what to expect, common pitfalls, and how to accelerate your timeline without compromising quality.
The $127,000 Mistake: A Sydney Robotics Startup's Story
In 2025, a Sydney-based robotics company rushed their wire harness design from prototype to production in just 6 weeks—half the recommended timeline. They skipped DVT and PVT stages to meet a trade show deadline.
Result? Their first production run of 500 units had a 31% failure rate. The crimp tool settings optimized for prototypes didn't translate to volume production. They faced $127,000 in rework costs, an 8-week production delay, and lost their anchor customer.
The lesson? Each validation stage exists for a reason. This guide will help you navigate from prototype to production successfully—without cutting corners that cost you dearly later.
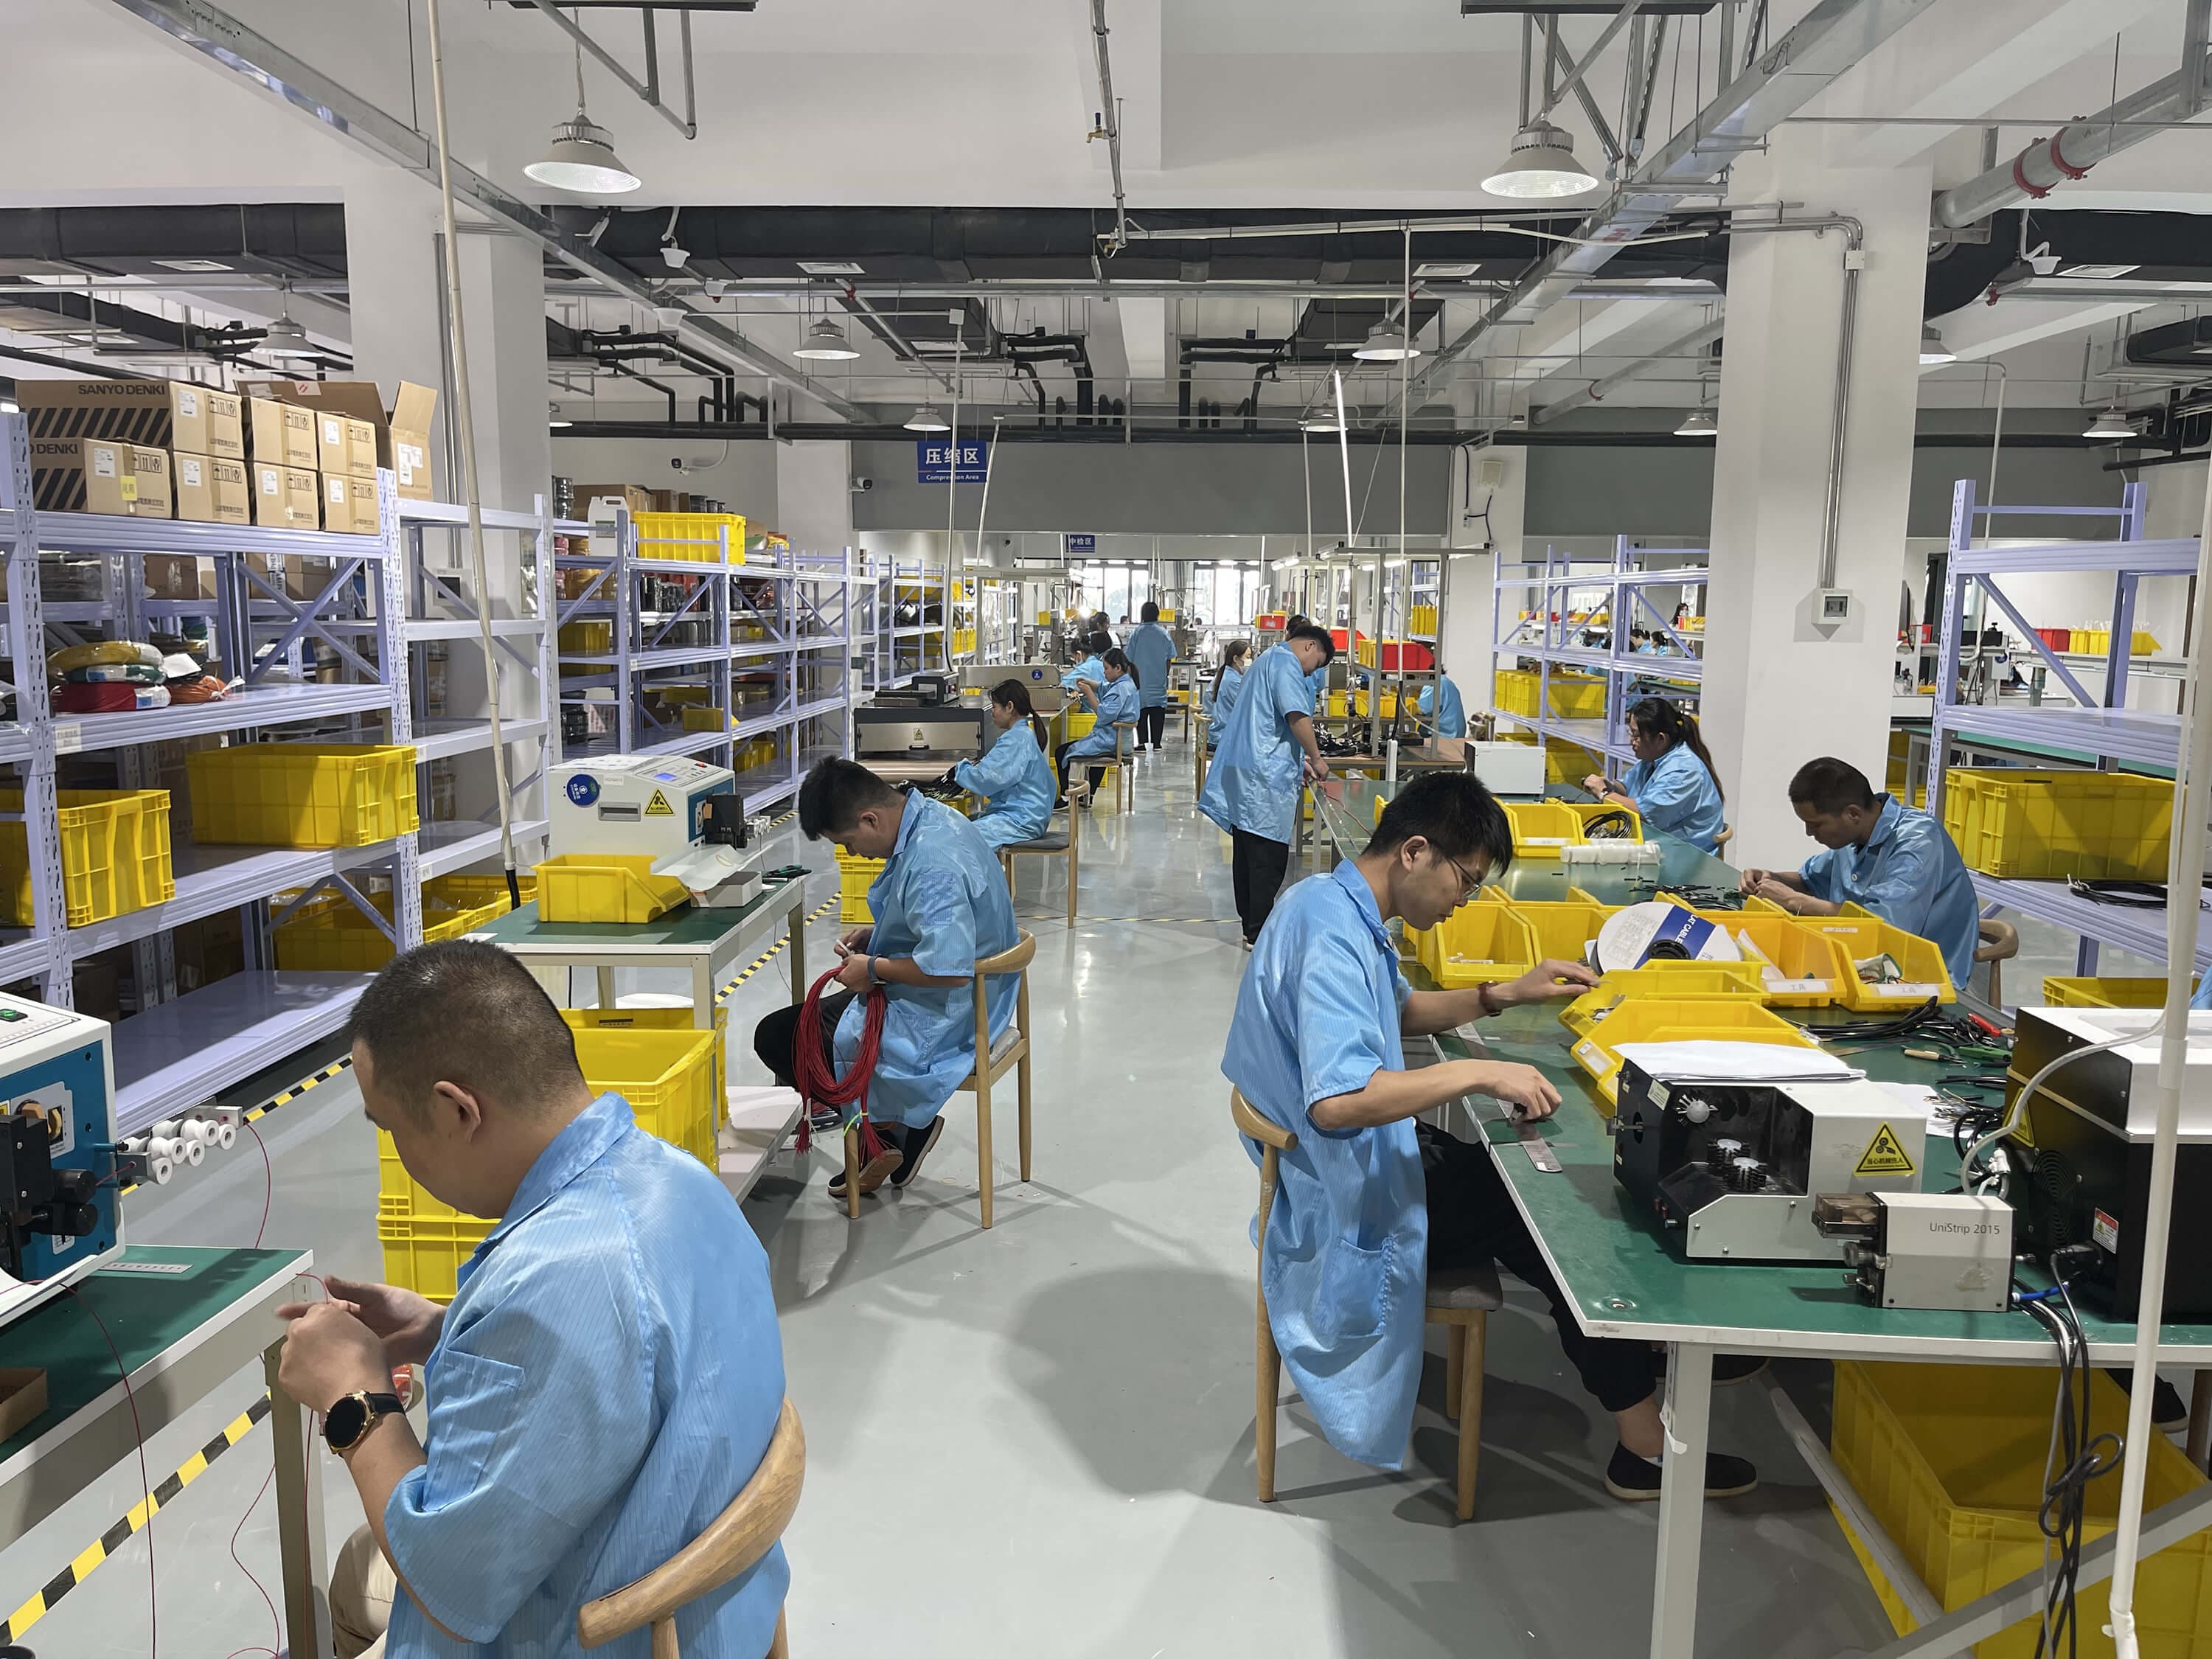
The Prototyping Journey: What to Expect
Developing a wire harness from concept to production-ready isn't a linear process—it's iterative. Each stage builds on the last, uncovering issues before they become expensive problems in mass production.
The 6 Critical Stages
The Golden Rule of Product Development
Finding and fixing issues gets exponentially more expensive with each stage. A design flaw caught in Stage 1 costs $50 to fix. The same issue found in production costs $5,000-50,000 to rectify. This is why we validate thoroughly at each stage before proceeding.
Stage 1: Concept & Design Review
Duration: 1-2 weeks
This foundational stage sets the trajectory for your entire project. Get it right here, and you'll save weeks of iteration later.
What Happens in This Stage
Critical Questions Your Manufacturer Should Ask
Design for Manufacturing (DFM) Best Practices
Following DFM principles from the start prevents costly redesigns later. Learn more about Design for Manufacturing best practices to reduce costs and improve production efficiency.
- Standardize components: Using common connector families reduces inventory and tooling costs
- Design for testability: Include test points for automated continuity and hi-pot testing
- Consider wire routing: Complex routing increases assembly time and error rates
- Label requirements: Plan labeling locations that work in production
Stage 1 Deliverables
- • Detailed electrical schematic
- • Bill of Materials (BOM) with sourcing notes
- • DFM review report with recommendations
- • Cost estimate for prototype and production
- • Project timeline and milestone plan
Stage 2: First Article Samples
Duration: 2-3 weeks
This is where your design becomes physical reality for the first time. First article samples prove basic functionality and give you something tangible to test with.
What Makes a Good First Article Sample
Don't use "close enough" substitutes. If your production wire is 18 AWG UL1015, your prototype should be too. Material properties affect everything from flexibility to termination quality.
Even if automated crimping isn't set up yet, use the same crimp terminals and wire sizes you'll use in production. This validates that the terminations are physically manufacturable.
One sample tells you nothing about consistency. Our prototyping services typically deliver 5-10 first articles so you can conduct destructive testing on some while using others for integration.
Real Customer Conversation
This conversation saved the customer an estimated 3 weeks and $12,000 in redesign costs when they transitioned to production materials.
Testing to Perform on First Articles
Basic Electrical Tests
- • Continuity verification
- • Hi-pot / dielectric strength
- • Insulation resistance
- • Connector mating force
Physical/Mechanical Tests
- • Crimp pull force (destructive)
- • Flexibility and bend radius
- • Overall length and routing
- • Connector orientation

First article samples undergo comprehensive electrical and mechanical testing
Stage 2 Deliverables
- • 5-10 physical samples with production-intent materials
- • First Article Inspection Report (FAIR)
- • Test reports (continuity, hi-pot, pull force)
- • Dimensional verification against drawings
- • Feedback on any design issues discovered
Stage 3: Engineering Validation Testing (EVT)
Duration: 2-3 weeks
EVT proves that your design works correctly from a technical standpoint. This stage validates electrical performance, mechanical fit, and basic environmental requirements.
Key Objectives of EVT
Confirm voltage drops, current capacity, signal integrity meet specifications under load conditions
Does it fit in your product? Are connector locations correct? Can it be routed as intended?
Basic temperature cycling, vibration, humidity exposure appropriate to application
Identify and fix issues before committing to production tooling
Typical EVT Build: 20-50 Units
EVT builds are larger than first article samples to support more comprehensive testing:
- • 5-10 units for electrical testing and characterization
- • 5-10 units for environmental testing (temperature, vibration, humidity)
- • 5-10 units for mechanical integration and fit testing
- • 5-10 units for destructive testing (crimp cross-sections, pull tests, aging)
- • 5-10 units for customer alpha testing or internal validation
Common Issues Discovered During EVT
Stage 3 Deliverables
- • 20-50 EVT units built with production processes
- • Comprehensive test report (electrical, mechanical, environmental)
- • Updated drawings reflecting design changes
- • Risk assessment and mitigation plan
- • Go/No-Go recommendation for DVT stage
Stage 4: Design Validation Testing (DVT)
Duration: 3-4 weeks
DVT proves your harness design is ready for the real world. This stage validates reliability, durability, and performance under actual use conditions—not just lab conditions.
EVT vs DVT: What's the Difference?
"Does the design work correctly?"
- • Lab testing under controlled conditions
- • Validates technical specifications
- • Identifies fundamental design flaws
"Will it work reliably in customers' hands?"
- • Real-world testing and field trials
- • Validates durability and reliability
- • Tests abuse cases and edge scenarios
Comprehensive DVT Testing Protocol
Environmental Testing (Extended)
- • Temperature cycling: -40°C to +85°C (or per spec), 100+ cycles
- • Humidity aging: 85% RH at 85°C for 500+ hours
- • Thermal shock: rapid temperature changes
- • Salt spray (marine/outdoor applications)
Mechanical/Vibration Testing
- • Random vibration per industry standards (automotive, aerospace, etc.)
- • Mechanical shock testing
- • Connector insertion/extraction cycles (1000+ cycles)
- • Flex cycling for dynamic applications
Compliance & Certification Testing
- • IPC/WHMA-A-620 workmanship inspection
- • UL, CE, or other required certifications initiated
- • Industry-specific standards (automotive, medical, etc.)
- • RoHS, REACH material compliance verification
Beta Testing / Field Trials
- • Install in actual customer products or use environments
- • Collect feedback on installation ease, serviceability
- • Monitor for unexpected failure modes
- • Validate that documentation and labeling are adequate
Typical DVT Build: 100-300 Units
DVT requires significantly more units than EVT because testing is more extensive and destructive:
- • 30-50 units consumed in environmental testing
- • 30-50 units for mechanical/vibration testing
- • 20-30 units for certification testing (UL, CE, etc.)
- • 20-50 units for beta/field trials with customers
- • 10-20 units reserved for design verification documentation
Critical Decision Point: Production Tooling
DVT is typically when you commit to production tooling (crimp tools, fixtures, testing jigs). This represents significant investment—often $5,000-30,000 depending on complexity. Only proceed with tooling after DVT testing confirms the design is stable. Design changes after tooling is ordered can cost 5-10x more than changes made earlier.
Stage 4 Deliverables
- • 100-300 DVT units for comprehensive testing
- • Complete test reports (environmental, mechanical, compliance)
- • Field trial feedback summary and resolution plan
- • Updated production drawings (final design freeze)
- • Design Verification Report with pass/fail criteria
- • Tooling approval and procurement (if all tests pass)
Stage 5: Production Validation Testing (PVT)
Duration: 2-3 weeks
PVT is the final checkpoint before mass production. While DVT validated the design, PVT validates the manufacturing process. Can we build this consistently, at volume, with acceptable quality and cost?
What PVT Validates
Can we maintain quality at production rates? What's the defect rate? Are operators trained?
Verify all production tooling produces parts within specification consistently
Are all materials qualified and suppliers capable of volume delivery?
Is inspection documentation in place? Are control plans active?
Typical PVT Build: 300-1000 Units
PVT builds are the first "production-like" runs using final tooling and processes:
- • Built using production tooling, fixtures, and equipment
- • Production operators (not engineering technicians) assemble units
- • Full production documentation and work instructions used
- • Complete quality inspection at production rates
- • Statistical sampling to establish process capability (Cpk)
Key Metrics Tracked During PVT
Percentage of units passing all tests on first attempt
Statistical measure of process consistency
Assembly time per unit
Defects per million opportunities (DPMO)
Common Issues Found During PVT
These are GOOD problems to find now. Discovering them in a pilot run of 500 units costs far less than finding them after producing 5,000 defective units.
Our PVT Quality Approach
At OurPCB, we follow strict quality management processes during PVT to ensure production readiness:
- • IATF 16949 compliant Production Part Approval Process (PPAP)
- • Statistical Process Control (SPC) on critical dimensions
- • Measurement System Analysis (MSA) for test equipment
- • Process Failure Mode and Effects Analysis (PFMEA)
- • Full traceability with lot tracking from materials through final test
Stage 5 Deliverables
- • 300-1000 PVT units built with production tooling and processes
- • Production Part Approval Process (PPAP) documentation
- • Process capability study (Cpk report)
- • Updated control plan and inspection documentation
- • Production readiness review and final approval
- • Supply chain qualification complete
Stage 6: Mass Production
Duration: Ongoing
You've made it! Your design has been validated, your process is qualified, and you're ready to scale. But mass production isn't "set and forget"—continuous monitoring and improvement are essential.
What Success Looks Like in Mass Production
Ongoing Production Activities
Statistical process control charts, periodic capability studies, regular crimp pull tests, and automated electrical testing on 100% of units.
Material lot traceability, supplier performance tracking, obsolescence monitoring (especially for connectors/components), and dual-sourcing for critical materials.
Cost reduction initiatives, process optimization, and engineering change management for customer-requested modifications.
Our Production Capabilities
Explore our full range of manufacturing services designed to support your production needs:
Common Pitfalls & How to Avoid Them
After 18 years and thousands of projects, we've seen the same mistakes repeated. Here's how to avoid the most common and costly pitfalls.
Timeline Expectations: How Long Does Each Stage Really Take?
One of the most common questions: "When can we start production?" Here are realistic timelines based on our 18 years of experience across thousands of projects.
| Stage | Simple Design | Moderate Complexity | Complex/Regulated |
|---|---|---|---|
| Concept & Design Review | 1 week | 1-2 weeks | 2-3 weeks |
| First Article Samples | 2 weeks | 2-3 weeks | 3-4 weeks |
| EVT | 2 weeks | 2-3 weeks | 3-4 weeks |
| DVT | 2-3 weeks | 3-4 weeks | 4-6 weeks |
| PVT | 2 weeks | 2-3 weeks | 3-4 weeks |
| TOTAL TO PRODUCTION | 9-11 weeks | 12-16 weeks | 17-24 weeks |
Design Complexity Definitions
- • 5-15 wires
- • 2-4 connectors
- • Standard components
- • No certifications required
- • Benign environment
- • 15-50 wires
- • 4-10 connectors
- • Mix of standard/custom
- • Basic certifications (UL, CE)
- • Industrial environment
- • 50+ wires
- • 10+ connectors
- • Custom/specialized components
- • Automotive/medical/aerospace certs
- • Harsh environment
Can You Accelerate the Timeline?
Yes, but with caveats. Safe acceleration strategies:
Never skip PVT. We cannot stress this enough. Customers who skip PVT to save 2-3 weeks almost always lose 6-12 weeks dealing with production issues. It's a false economy.
Frequently Asked Questions
How long does it take to go from prototype to production for a wire harness?
For a typical wire harness project, expect 12-16 weeks from initial prototype to mass production readiness. This includes Concept & Design Review (1-2 weeks), First Article Samples (2-3 weeks), EVT (2-3 weeks), DVT (3-4 weeks), and PVT (2-3 weeks). Complex products with regulatory requirements may take 20-24 weeks.
What is the difference between EVT, DVT, and PVT in wire harness development?
EVT (Engineering Validation Testing) validates the technical design and functionality—does it work correctly? DVT (Design Validation Testing) confirms the design works reliably under real-world conditions—will it work in customers' hands? PVT (Production Validation Testing) validates that the manufacturing process can consistently produce at volume with acceptable quality and cost—can we make it efficiently?
What are the most common mistakes when scaling wire harness production?
The top mistakes include: (1) skipping validation stages to save time, (2) using non-production materials in prototypes, (3) failing to consider Design for Manufacturing principles, (4) underestimating tooling lead times, and (5) not planning for supply chain constraints. These mistakes typically add 4-8 weeks to timelines and increase costs by 15-30%.
How much should I budget for wire harness prototyping?
Budget $2,000-5,000 for simple harness prototypes (10-20 wires), $5,000-15,000 for moderate complexity (20-50 wires with multiple connectors), and $15,000-40,000+ for complex automotive/medical harnesses requiring extensive testing. Include 20% contingency for design iterations. Production tooling adds another $5,000-30,000 depending on complexity.
Can I skip stages to accelerate time to market?
While it's tempting to skip stages, this usually backfires. The only safe shortcuts are: (1) combining EVT and DVT for very simple designs, or (2) parallel-pathing some activities (like tooling preparation during DVT). Never skip PVT—production issues caught late cost 10-50x more to fix than prototype-stage issues. We've seen customers who skipped stages lose 2-3 months dealing with production problems, far more than they 'saved.'
Do you offer prototyping services for Australian customers?
Yes. We provide complete prototyping to production services with local support in Melbourne. Our standard prototype lead time is 2-3 weeks for first article samples, even for complex designs with 40+ wires. We maintain no minimum order quantities, so you can order from 1 prototype to millions of production units.
What certifications do you have for production?
We're certified to ISO 9001:2015 and IATF 16949:2016 (automotive quality standard). Our testing laboratory holds CNAS and ISO/IEC 17025 certification with international mutual recognition. We follow IPC/WHMA-A-620 workmanship standards and can support UL, CE, RCM, and other certification requirements.
Ready to Start Your Wire Harness Development Journey?
Whether you're at the concept stage or ready to scale to production, our engineering team can guide you through every step. Get expert advice and a detailed project timeline within 24 hours.
What You'll Get:
Related Articles
Wire Harness Cost Breakdown
Understanding what drives pricing from prototype to production.
Box Build Assembly Checklist
Complete checklist for OEMs scaling to full assembly.
How to Choose a Manufacturer
8 key evaluation factors for Australian buyers.